Introduction
This page describes how to prepare for Data Sync and the recommended order for setting it up.
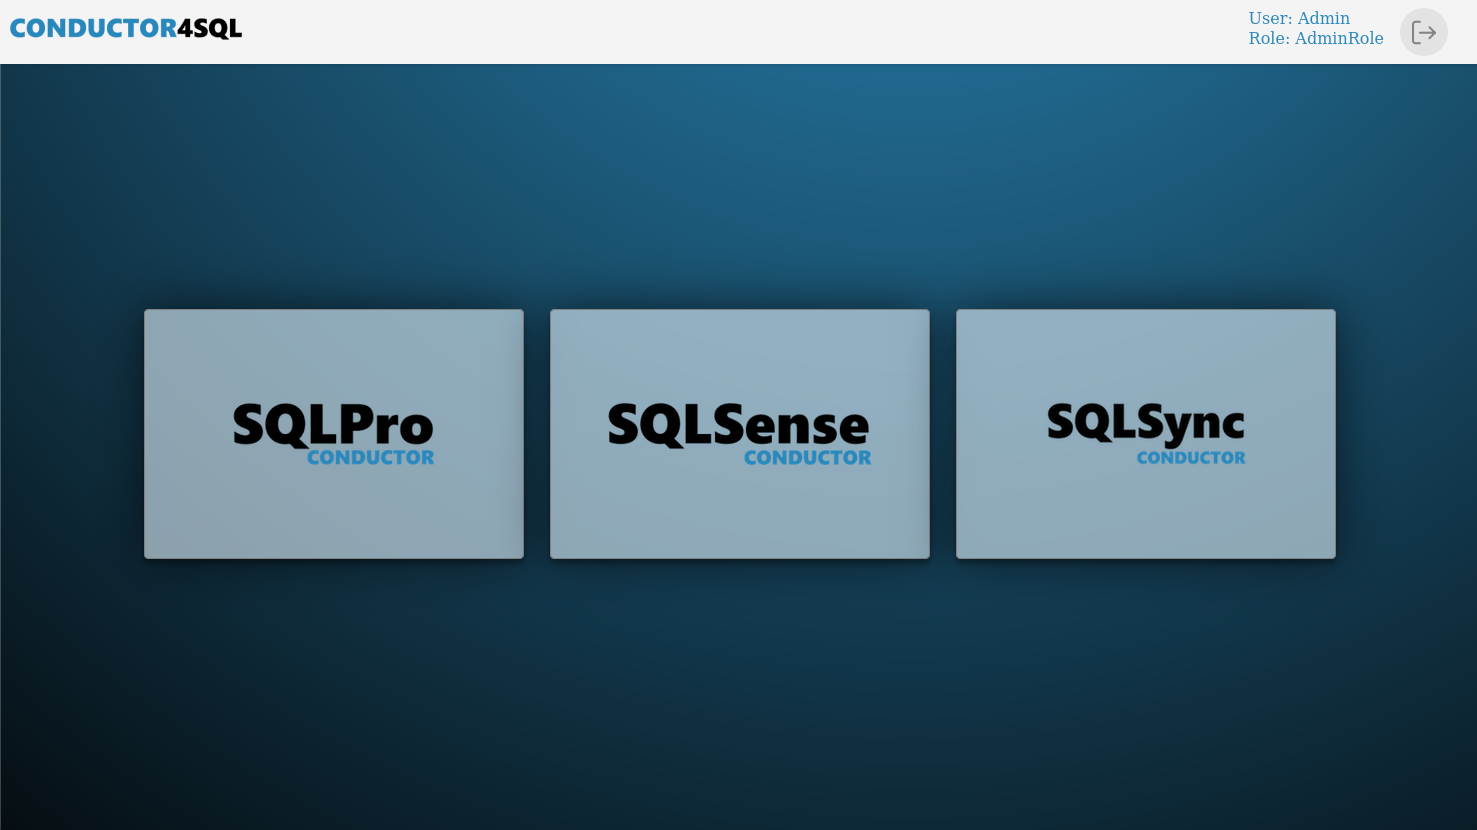
To reach Data Sync, select the SQLSync icon on the landing page:
Tip
If SQLSync or the Data Sync menu is not available, check that:
- the Data Sync module is enabled on your license under Administration >> License
- your role includes the SyncUpdate permission
- Sync Feature Enabled is turned on under SQLPro >> Administration >> Advanced Settings, then restart the ConductorSQLPro service
Prerequisites
Before you configure Data Sync, ensure the following:
- Your license includes the Data Sync module. Confirm this under Administration >> License.
- Your user role includes the SyncUpdate permission.
- Source and target instances are already registered under Administration >> Instances.
- Source databases are Microsoft SQL Server (including Azure SQL, Azure SQL Managed Instance, and on-premises SQL Server). Data Sync uses SQL Server Change Tracking. Fabric instances cannot be used as sources.
- Each source table you plan to sync has a primary key.
- Source deletes are applied as hard deletes on the target. Soft-delete patterns are not supported.
- For Microsoft Fabric Data Warehouse targets, you have an Azure Blob Storage SAS URL that SQLPro can use for staging data.
Warning
A full resync drops and recreates the target table, then reloads all data. Plan accordingly if other processes depend on those target tables. A partial resync (available from Sync Monitoring) only replays Change Tracking history and leaves the target table in place.
Supported platforms
| Role | Supported platforms |
|---|---|
| Source | Microsoft SQL Server (Azure SQL, Azure SQL Managed Instance, and on-premises) |
| Target | Microsoft Fabric Data Warehouse, or Microsoft SQL Server (Azure SQL, Managed Instance, and on-premises) |
Sync is always one-way: source to target. There is no bidirectional sync or conflict resolution.
Note
Throughout Data Sync, Microsoft SQL Server means Azure SQL, Azure SQL Managed Instance, and on-premises Microsoft SQL Server.
Recommended setup order
Configure Data Sync in this order so each step has what it needs:
- Global Configuration - set processor threads, staging, and issue email alerts (optional, but review before you start syncing).
- Source Host Configuration - register the SQL Server instance that owns the source data.
- Target Host Configuration - register the Fabric or SQL Server destination (including Blob SAS for Fabric).
- Schedule Configuration - define when delta, checksum, and resync jobs run.
- Queue Configuration - create or reuse a processing queue (a Default queue is provided).
- Table List Configuration - select the tables to sync, assign them to a queue, and optionally limit which columns each table syncs.
- Sync Configuration - combine source, target, schedule, table list, and databases into a sync job.
- Monitoring - confirm tables move from pending to syncing, and use bulk actions as needed.
How sync works
Once a sync configuration is active:
- Tables start in a pending/resync state.
- The resync schedule performs the initial full load (or a later full reload). The same schedule also processes tables marked for partial resync.
- The delta schedule applies ongoing Change Tracking inserts, updates, and deletes to the target. You can also queue an immediate delta from Sync Monitoring with Run Delta for Selected.
- An optional checksum schedule compares source and target row counts and checksums for validation.
Target tables also receive C4SQL_CreateDate and C4SQL_LastUpdated metadata
columns. Those timestamps are stored in the source server's local time. An
optional C4SqlClientDatabaseName column can store the source database name on
each target row.
Tip
Use Queue Monitoring if a table stays pending longer than expected, or if errors appear in monitoring.